In our previous logs, I gave our procedural generation engine a memory by building a smart character dialogue and portrait system. Now that our heroes can react to the world around them, the next big milestone for Project Labyrinth is to populate our maze with an equally intelligent threat.
Phase 4 shifts our focus away from player interfaces and steps directly into enemy behavior. In this post, we will look at how to build a modular Enemy AI State Machine, a realistic two-tiered vision system, and a movement framework that connects real-time physics data directly to fluid animations.
Core State Machine Structure & Smart Behaviors
To make our code easy to expand and avoid giant, messy scripts, the entire enemy intelligence system uses a programming concept called the State Pattern. Instead of cramming all enemy choices into a massive list of “if/else” statements inside a single script, every single action a monster can take is isolated into its own independent script component.
- The Abstract Blueprint (EnemyState.cs): This foundational base class sets up standard steps for every possible enemy action. It creates three distinct phases that the master brain controls: EnterState() for setting up paths and values, UpdateState() for running frame-by-frame logic checks, and ExitState() for cleaning up before switching tasks.
- The Central Hub (EnemyAIBrain.cs): This script acts as the central manager and data clipboard for the AI. It tracks shared combat measurements—like how far the enemy can see (detectionRadius), its attackRange, and where the player is (playerTransform)—while handling smooth, safe transitions from one state to another.
The Two-Tiered Vision & Perception Pipeline
To stop enemies from unrealistically tracking players through solid dungeon walls, our AI uses a rigorous, two-step confirmation system inside EnemyAIBrain to check if it can actually see you.
- The Field-of-View Cone Check: The system uses vector math to calculate the angle between the direction the enemy is facing (transform.forward) and the position of the player. It ensures the player is within a realistic 90-degree vision cone, preventing the AI from seeing out of the back of its head.
- The Obstruction Raycast Check: If the player is inside that vision cone, the game fires an invisible physics laser (Physics.Raycast) to check for obstacles like walls.
- Height Correction: The start and end points of the laser are raised to eye level (Vector3.up * 1.4f) so the check doesn’t accidentally hit the floor or scan the ground.
- Layer Filtering: The script uses a specific bitmask to look only for the “Environment” and “Player” layers, making sure the vision laser ignores soft things like long grass but stops on solid walls.
- Identity Check: The script double-checks the object it hits to ensure it accurately matches the core player object, ignoring minor sub-colliders like held weapons.
The Code: Enemy State Manager & Sight Perception
The C# code below shows how EnemyAIBrain.cs manages active states and runs the multi-tiered sight calculation loops.
C#
// Inside EnemyAIBrain.cs - Enemy State Manager & Sight Perception

public class EnemyAIBrain : MonoBehaviour
{
    [Header("Active State Blueprint")]
    public EnemyState currentState;

    [Header("Blackboard Metrics")]
    public Transform playerTransform;
    public float detectionRadius = 12f;
    [SerializeField] private float fieldOfViewAngle = 90f;
    [SerializeField] private float sightHeight = 1.4f;

    private void Update()
    {
        // Continuous, state execution loop
        if (currentState != null)
        {
            currentState.UpdateState();
        }
    }

    //Safely terminates the previous state lifecycle methods and executes entry logic for a new state.
    public void TransitionToState(EnemyState newState)
    {
        if (newState == null || currentState == newState) return;

        // Perform clean decoupled teardown and initialization routines
        if (currentState != null) currentState.ExitState();
        currentState = newState;
        currentState.EnterState();
    }

    // Evaluates if the player is within range, inside the visual field cone, and free of environmental obstruction.
    public bool CanSeePlayer()
    {
        if (playerTransform == null) return false;

        // TIER 1: Proximity Verification
        float distance = Vector3.Distance(transform.position, playerTransform.position);
        if (distance > detectionRadius) return false;

        // TIER 2: Peripheral Enemy Sight Field-of-View Verification
        Vector3 directionToPlayer = (playerTransform.position - transform.position).normalized;
        float angleToPlayer = Vector3.Angle(transform.forward, directionToPlayer);

        if (angleToPlayer > fieldOfViewAngle) return false; // Target resides outside the visibility arc

        // TIER 3: Height-Corrected Occlusion Raycast Check
        Vector3 rayStart = transform.position + Vector3.up * sightHeight; // Eye-level start offset
        Vector3 rayEnd = playerTransform.position;
        Vector3 rayDirection = (rayEnd - rayStart).normalized;

        // Raycast hit should ignore all collisions except on the player and environment obstructions
        int layerMask = LayerMask.GetMask("Environment", "Player");

        if (Physics.Raycast(rayStart, rayDirection, out RaycastHit hit, detectionRadius, layerMask))
        {
            // Identity Resolution: Confirm visibility match the player's game tag
            if (hit.transform.gameObject.CompareTag("Player"))
            {
                return true; // Unobstructed line-of-sight established
            }
        }

        return false; // Vision occluded by solid dungeon boundaries
    }
}
Understanding the Five Enemy States
Our creatures transition naturally between five interconnected states based on how close you are, whether they can see you, and environmental hazards:
- IdleState.cs (Scanning): The default monitoring state. It checks if an intruder enters its general area before handing control over to the line-of-sight vision checks.
- ChaseState.cs (Pursuit): Handles active pathfinding by setting the monster’s NavMeshAgent destination directly to the player’s real-time coordinates. It uses a smooth turning loop (Quaternion.Slerp) to keep the face of the monster aimed at the player while running.
- AttackState.cs (Engaging): The combat phase. Upon entering, it forces the monster to a complete stop (agent.isStopped = true), locks its gaze onto the player, and cycles through a rhythmic attack cooldown timer while triggering visual animations.
- SearchState.cs (Two-Phase Investigation): A realistic hunting pattern triggered automatically the moment an enemy loses sight of you:
- Phase 1 (The Intercept): The AI charges at full speed directly toward the player’s last known position coordinates.
- Phase 2 (The Investigative Scan): Upon arriving, the AI slows down to a careful looking pace, ticks down a 5-second search timer, and samples random nearby points on the navigation grid to hunt for you.
- RetreatState.cs (Evacuation): A defensive fallback behavior. It calculates a path pointing directly away from a dangerous threat, finds safe escape coordinates, and triggers a temporary calming phase once it is clear of danger.
The Code: Two-Phase Hunting and Searching
The code snippet below from SearchState.cs highlights how an AI cleanly switches from sprinting to a last known location into a careful area investigation.
C#
// Inside SearchState.cs - Polymorphic Two-Phase Hunting & Tactical Search Logic

public class SearchState : EnemyState
{
    private NavMeshAgent agent;

    [Header("Search Parameters")]
    [SerializeField] private float searchDuration = 5f;
    [SerializeField] private float searchRadius = 4f;
    [SerializeField] private float investigativeSpeed = 2.0f; // Lower pace when searching the zone

    private float searchTimer;
    private Vector3 lastKnownPlayerPosition;
    private bool reachedLastKnownSpot;

    public override void EnterState()
    {
        searchTimer = searchDuration;
        reachedLastKnownSpot = false;

        if (agent != null)
        {
            agent.isStopped = false;
            // PHASE 1: Instantly command the agent to move straight to the threat's last reported vector
            agent.SetDestination(lastKnownPlayerPosition);
        }
    }

    public override void UpdateState()
    {
        // CONSTANT PERCEPTION SCAN: Break the tracking investigation immediately if line-of-sight is re-established
        if (brain.CanSeePlayer())
        {
            brain.TransitionToState(brain.chaseState);
            return;
        }

        // Check when the entity has reached the player's last known location
        if (!reachedLastKnownSpot)
        {
            // Verify if the entity's physical bounds have crossed into the acceptable distance to the player
            if (agent != null && !agent.pathPending && agent.remainingDistance <= agent.stoppingDistance + 0.3f)
            {
                reachedLastKnownSpot = true;
                agent.speed = investigativeSpeed; // Drop speed down into a careful searching pace
                PickRandomSearchPoint();           // Find and move to a random location in the search radius
            }

            // GUARD CLAUSE: Force early exit. Freeze countdown timers until entity has arrived at the intercept zone
            return;
        }

        // PHASE 2 Area Investigation Countdown
        searchTimer -= Time.deltaTime;

        // TIMEOUT GATEWAY: If search window fully expires, return cleanly to the idle state
        if (searchTimer <= 0f)
        {
            brain.TransitionToState(brain.idleState ?? brain.GetComponentInChildren<IdleState>());
            return;
        }

        // If the agent arrives at an investigation location, seamlessly move it to the next one
        if (agent != null && !agent.pathPending && agent.remainingDistance < 0.5f)
        {
            if (!agent.hasPath || agent.velocity.sqrMagnitude < 0.1f)
            {
                PickRandomSearchPoint();
            }
        }
    }

    // Projects a random coordinate radius around the search location
    private void PickRandomSearchPoint()
    {
        // Generate a random direction offset inside a 3D mathematical unit sphere
        Vector3 randomDirection = Random.insideUnitSphere * searchRadius;
        randomDirection += transform.position;

        // Spatial Query: Ensure selected coordinates exist on a valid navigation path
        if (NavMesh.SamplePosition(randomDirection, out NavMeshHit hit, searchRadius, NavMesh.AllAreas))
        {
            agent.SetDestination(hit.position);
        }
    }
}
Customizing Monsters with Prefab Variants
To support a large, expanding list of unique dungeon monsters without rewriting code, the system utilizes Unity’s Prefab Variant workflow.
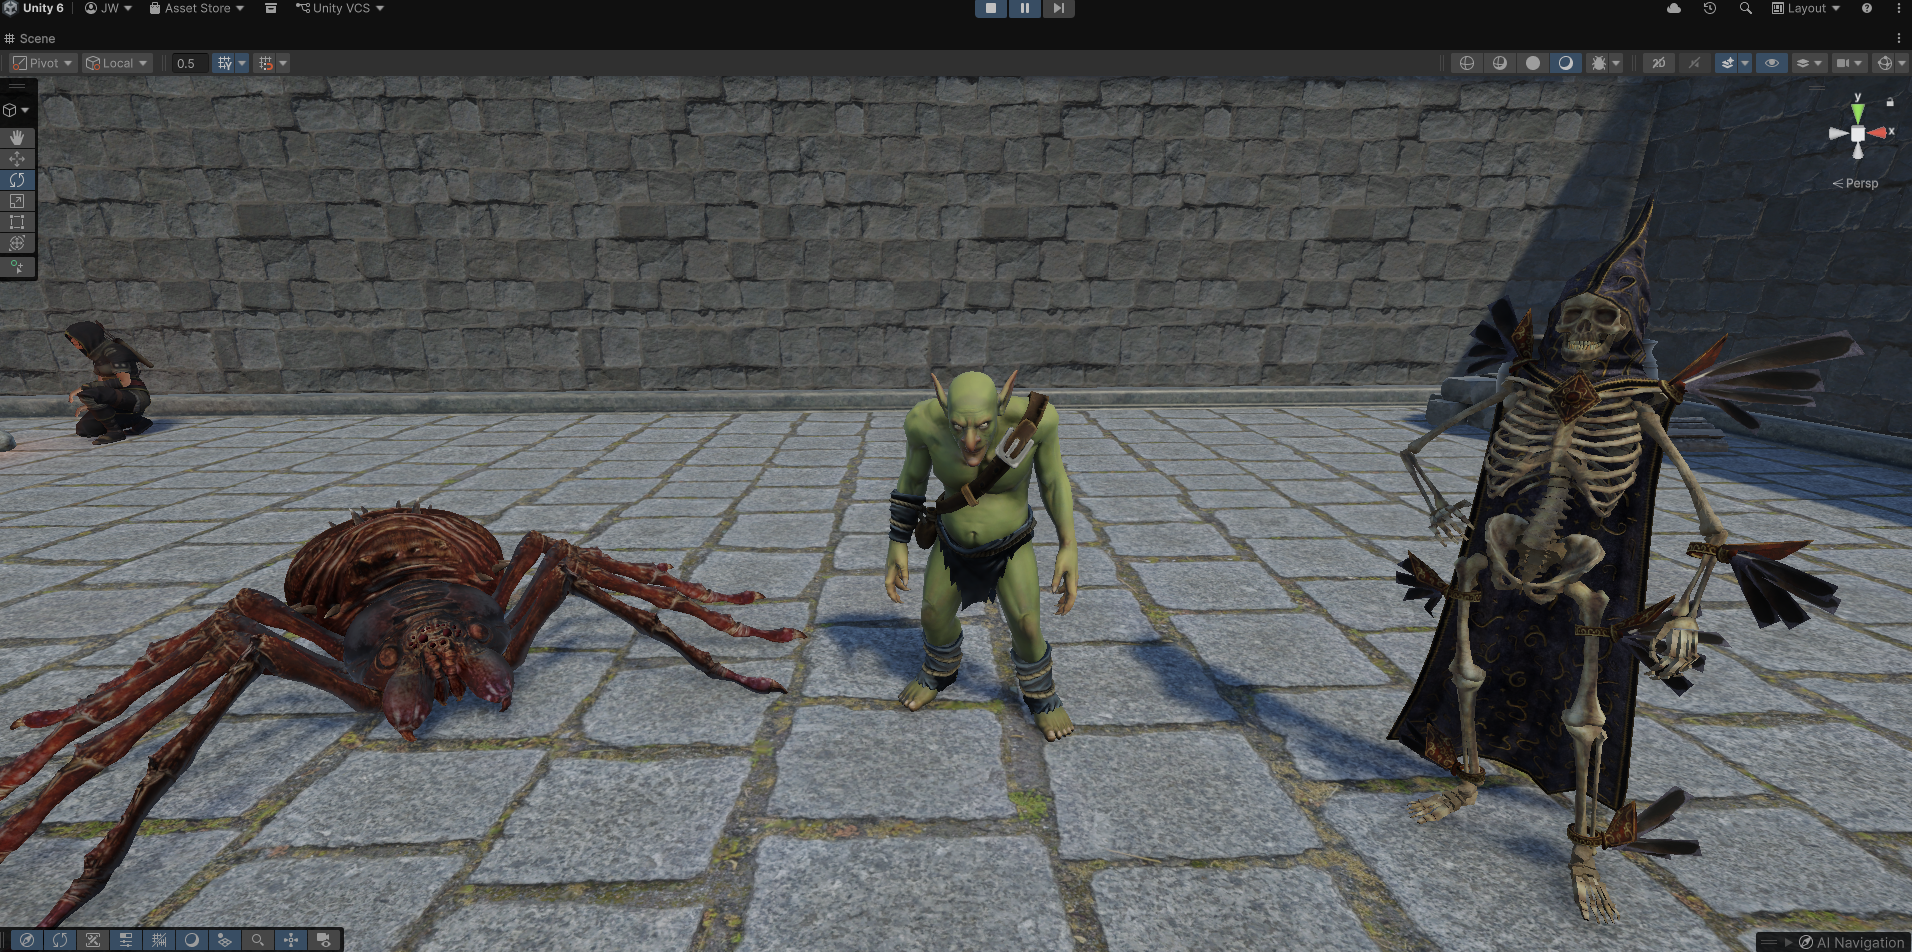
- Behavior Overrides: Because the brain tracks general state references, individual variants can swap out specific actions cleanly. For example, while the Goblin and Spider use a standard melee attack for their attack state, the Skeleton Mage overrides its attack state slot in the Unity Inspector with a custom MageSpellAttackState component. This enables ranged spellcasting without rewriting any movement or vision systems!
- Master Base Prefab (Base_Enemy): Houses all the core components every single enemy absolutely needs, including the NavMeshAgent, EnemyAIBrain, basic state scripts, and general physics colliders.
- Prefab Variants (Goblin, Skeleton Mage, Spider): These variants inherit 100% of the scripts, behaviors, and baseline values from the master prefab. They are customized purely with their own unique visual 3D models, audio effects, and distinct animation sets.
The Movement Animation Pipeline
To keep our visual assets separate from our state machine code, enemy animation states are driven naturally by actual physics and movement data.
- The Unified Animation Bridge (EnemyAnimationController.cs): This script is attached to every single enemy type. It constantly measures the real-time velocity speed of the navigation component (agent.velocity.magnitude) and passes it into the Animator system through a parameter named Speed. A dampening factor is applied to smooth out sudden, jarring animation changes.
- 1D Locomotion Blend Trees: Instead of wiring up a complicated web of animation transitions between separate Idle, Walk, and Run clips, creature movement uses a single 1D Blend Tree node mapped to our Speed parameter. When Speed is exactly 0, the character plays its Idle clip. As the monster speeds up, the animator seamlessly crossfades through a mathematical gradient directly into a Walk or Run animation.
- Automatic Integration: This bridge means animations respond automatically to AI choices. The exact millisecond the AI brain enters AttackState and stops movement (agent.isStopped = true), its physical speed naturally drops to zero. This drop causes the Blend Tree to automatically return to the Idle stance on its own, completely eliminating manual, error-prone animation scripting.
Key Takeaways & Debugging Lessons
Building a multi-component state machine highlighted several engine-level bugs that required careful refactoring to fix:
- Fixing Short-Sighted Vision: Corrected direction vectors to use pure, normalized directions while applying the absolute detection limit to our Physics.Raycast. This restored the enemy’s ability to see targets out to their maximum 12-unit boundaries.
- Stopping State Machine Stutter: Fixed an issue where enemies rapidly toggled back and forth between searching, chasing, and idling within a single frame. This was resolved by locking the search countdown logic until physical arrival at the player’s last known spot was fully confirmed.
- Stopping Performance Leaks (WardingOrb.cs): Identified severe game lag caused by running high-frequency physics checks inside a continuous Update() loop, which forced memory allocations dozens of times per second. This was entirely refactored into event-driven, single-fire calls using Unity’s native OnTriggerEnter and OnTriggerExit systems, saving massive amounts of CPU power.
Technical Skills Demonstrated
- Polymorphic State Machine Design: Demonstrated how to separate complex behavior away from giant scripts into clean, independent lifecycle components.
- Spatial Math & Vision Pipelines: Implemented two-tiered visibility filtering using vector angles for vision cones and eye-level raycasts for tracking obstacles.
- Physics-Driven Animation: Decoupled gameplay code from visual models by connecting real-world velocity values directly to continuous 1D blend trees.
- Prefab Inheritance Architecture: Organized scalable creature files using Unity’s Prefab Variant system to support easy code overrides in the Inspector.
Next Time: With our core state machine running smoothly, our next log will cover Advanced Combat & The Death Loop (Part 2)!
We will explore how to populate our dungeons using regional territory maps, dynamic percentage-based spawn tables, and faction-driven aggression systems. Stay tuned!